
Let us custom build
your dream boat!


Shuttleworth AeroRig 52
Construction Photos
![]()
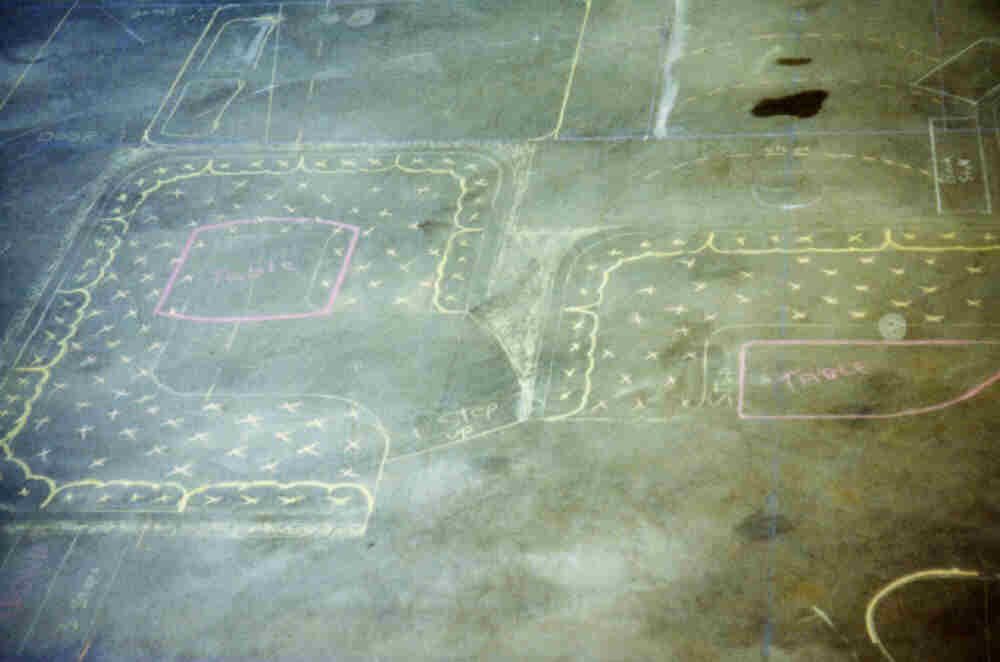 |
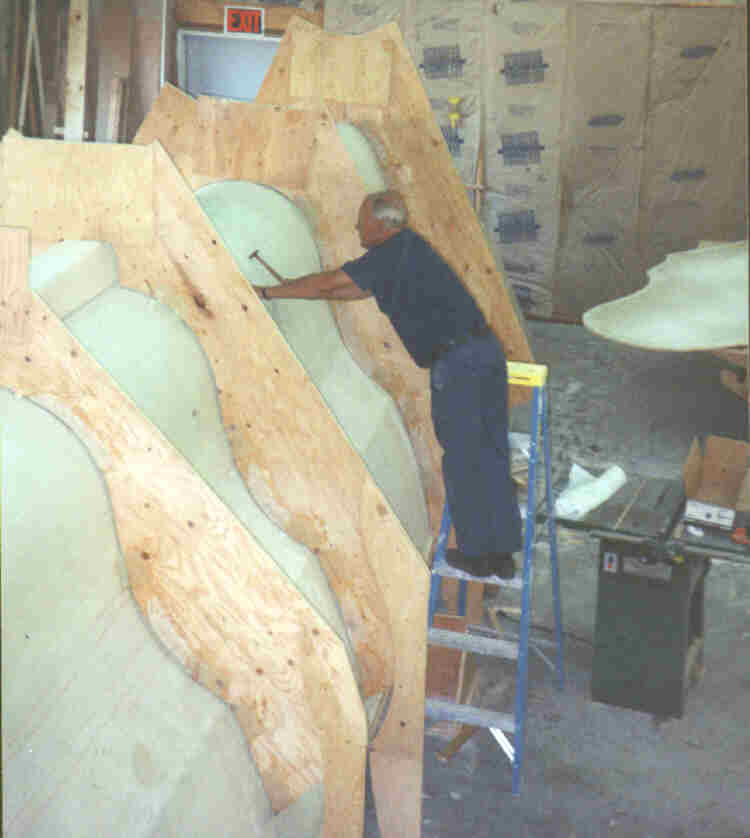
The entire interior is drawn on the shop floor to scale before any construction is started. This allows the customers to do a 'walk-thru' to ensure the interior is as they have envisioned. This is the time to change floor plans when tables or walkways are not large enough or too large. |
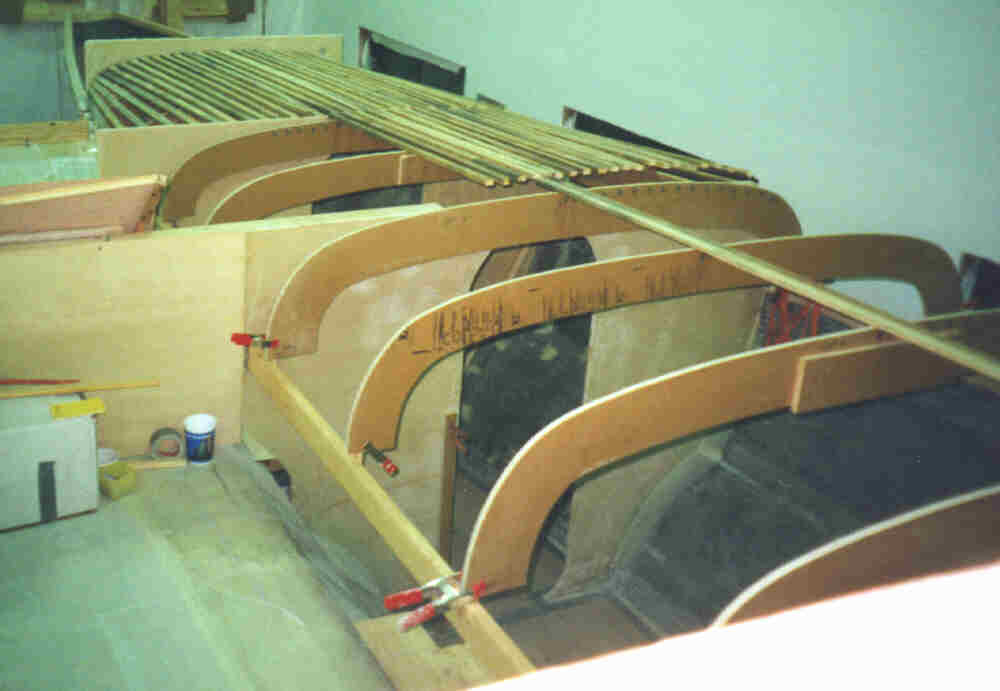
| The ribs are placed as the first step in creating the shape using the vertical and horizontal lines of references and the spacing the designer specifies. | 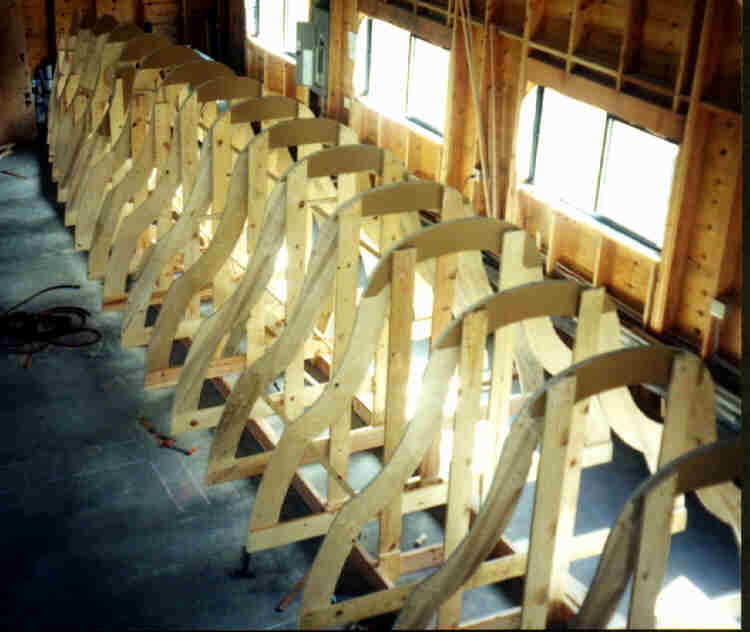 |
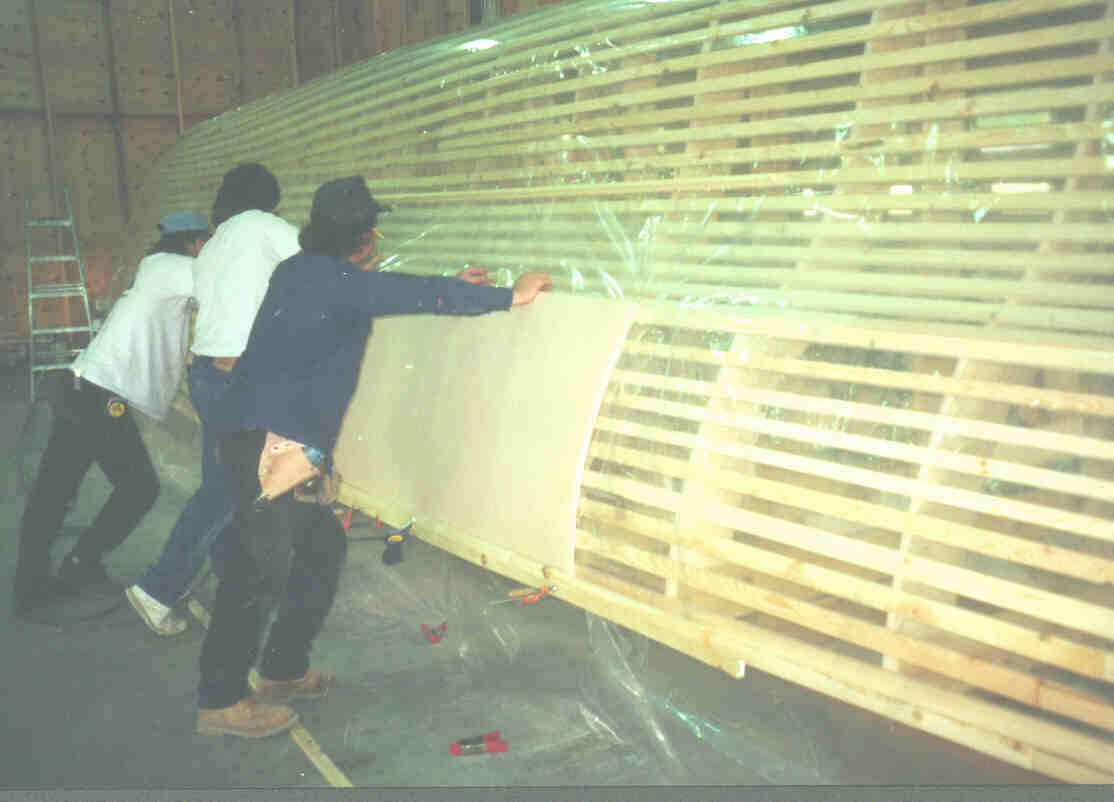 |
Once the ribs are in place, battens or stringers are fastened to the ribs to allow the attachment of the Airex® foam core. |
| After all the Airex® foam has been attached and faired, the outer laminates are applied. This cat uses Gougeon PRO-SET® Resin and hardener. The epoxy is applied by hand and squeegee for proper penetration and resin content. Multiple laminates required by the designer are applied at the same time. This ensures a primary bond, the strongest type. | 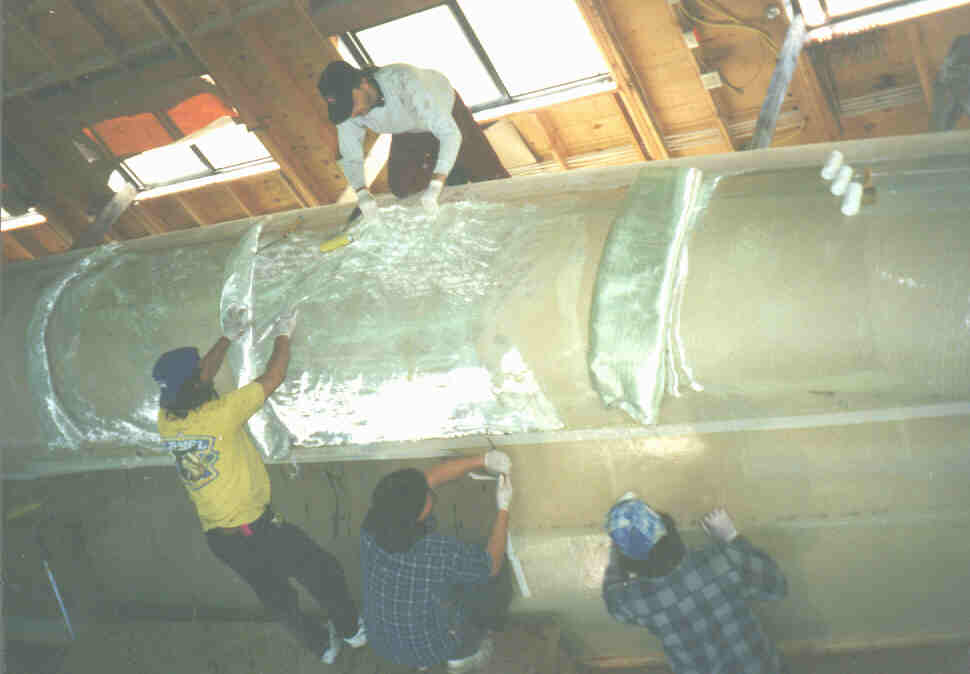 |
 |
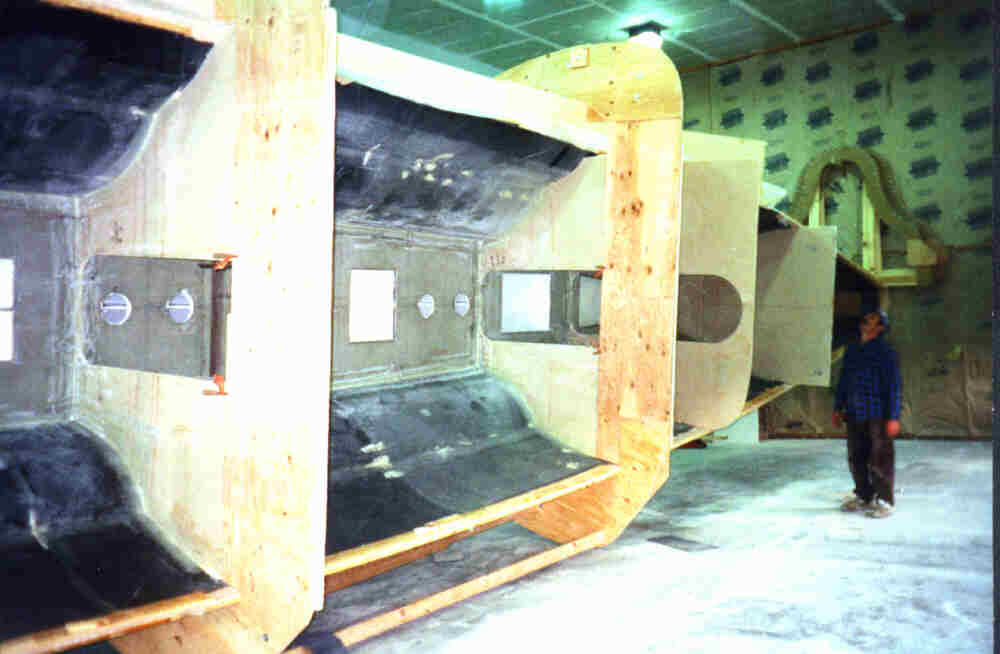
External bracing to ensure hull does not deform while preparing the interior for a multiple laminate. |
| Carbon Fiber is applied at a 45 degree angle. The second layer of carbon fiber is laid opposite at 45 degrees. |  |
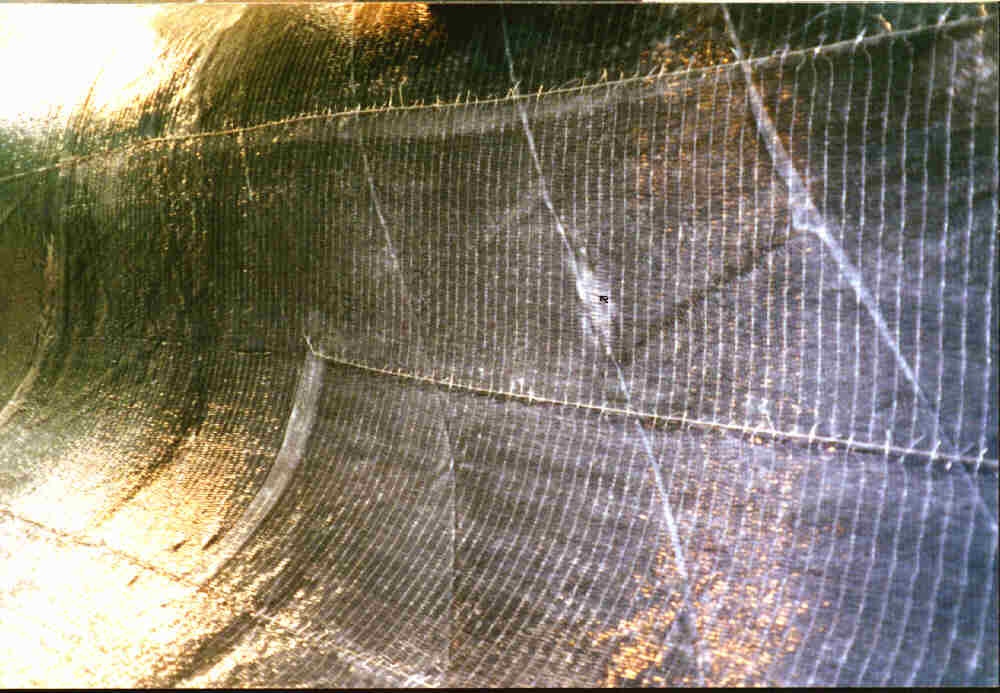 |
A third laminate of uni-directional roving is laid horizontal to the drawn waterline (dwl). All this is done in a primary layup, the same day at a controlled temperature. |
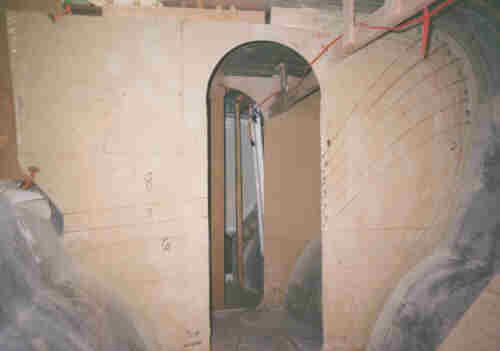
| Once the interior layup is complete, an exact pattern for the structural bulkhead that will be placed here. | 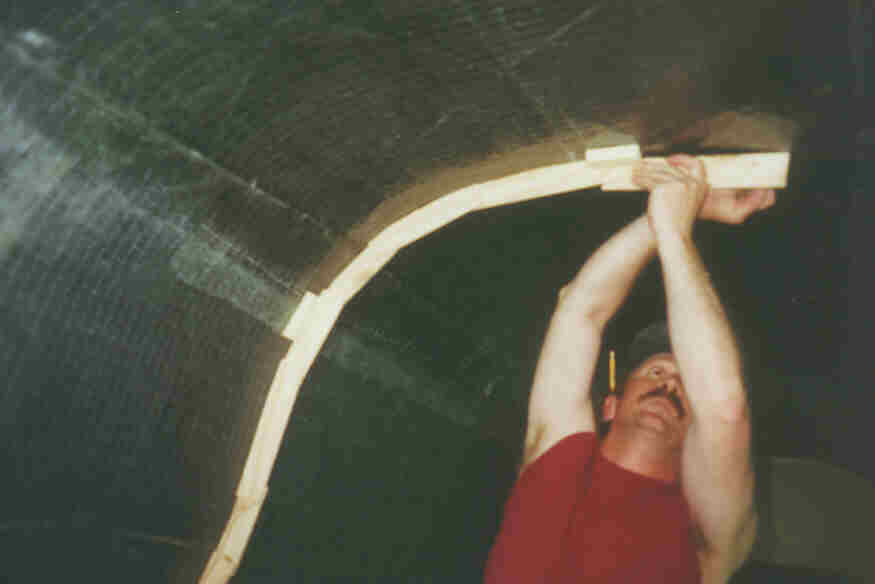 |
 |
The pattern is transferred to Airex foam core and the laminate is applied. The bulkhead is now ready for installation. |
| Laminated Airex® cored bulkheads are placed into position, numbered and the connection number marked. The number corresponds to the laminate schedule for attachments. | 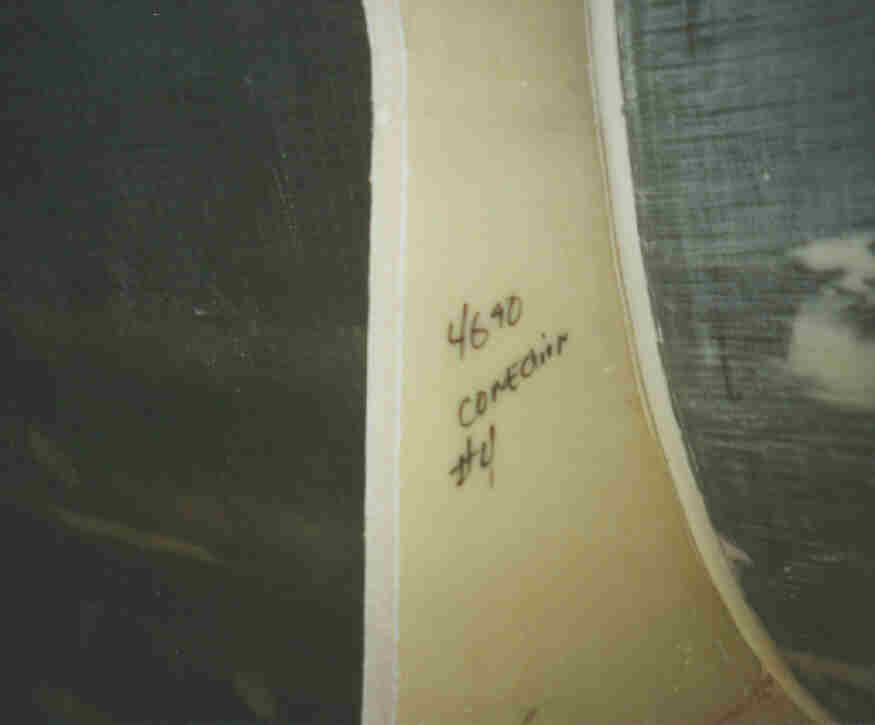 |
 |
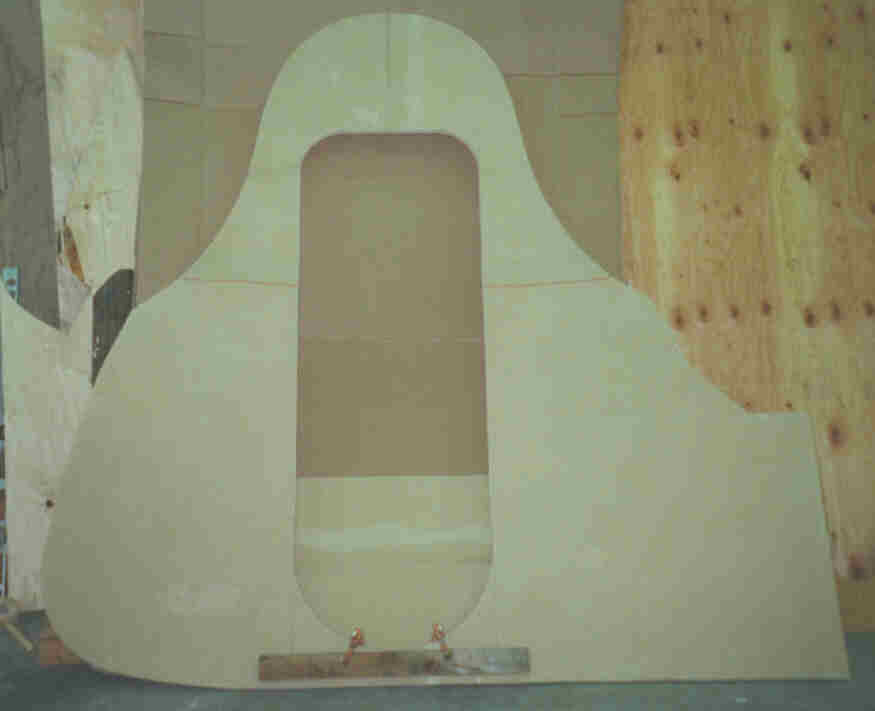
Certain bulkhead have additional layups which the designer requires. This bulkhead has several staggered laminates to help reinforce the main mast bulkhead. The laminate layout is drawn to ensure exact placement. |
| The Gougeon PRO-SET® we used required a high temperature post cure. | 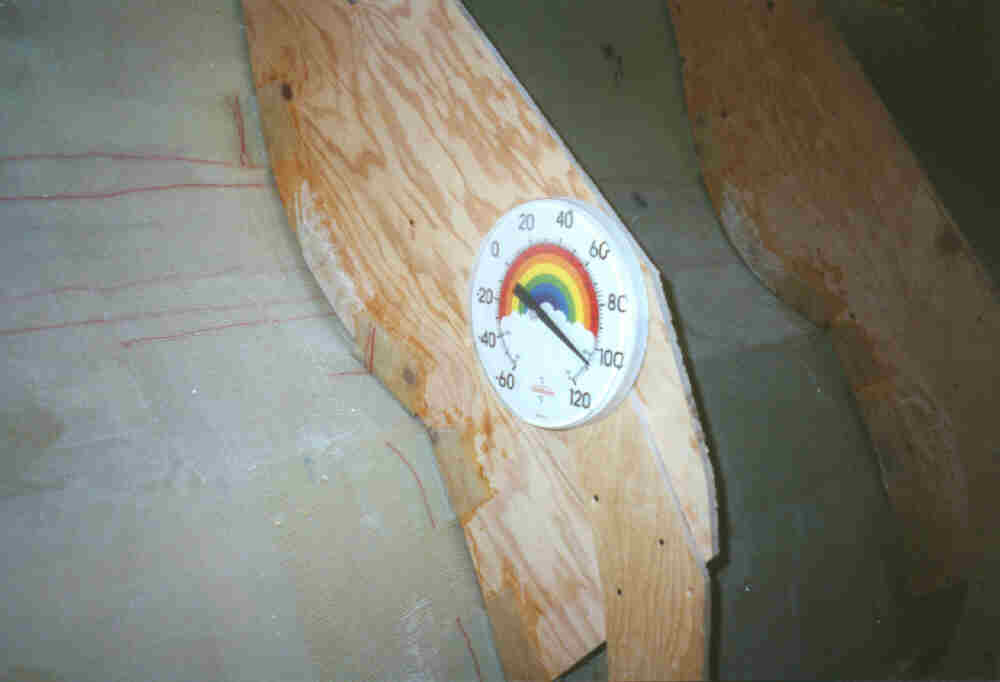 |
 |
A surveyor "sounds" the hull to make sure there are no voids. |
| While the hulls are still upside down, fuel and water tanks are built-in. This ensures cleanliness and is easier to construct. | 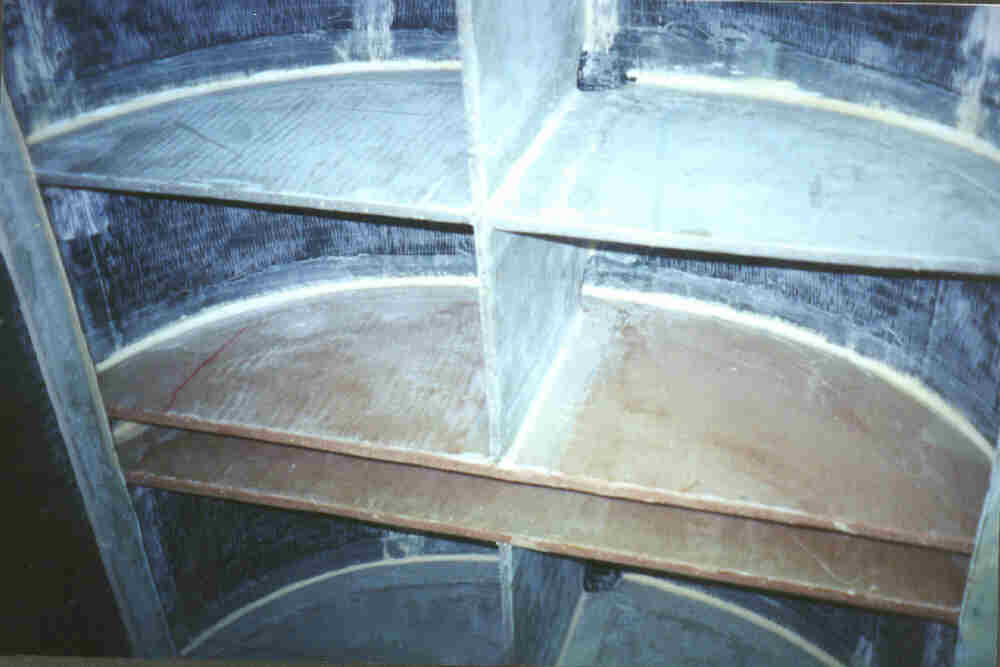 |
 |
The tank baffles and tops are finished in white epoxy. The top of the tanks are also the cabin soles. |
| The AeroRig® requires a very strong "bearing base." (aka "stealth fighter" base.) Exact layout of the reinforcement laminate schedule is critical so each laminate is drawn and numbered. | 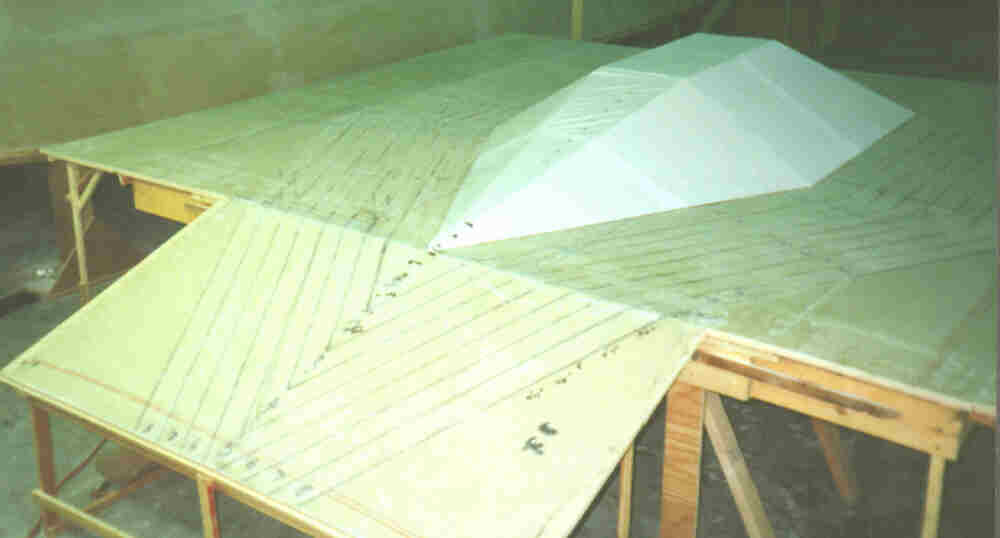 |
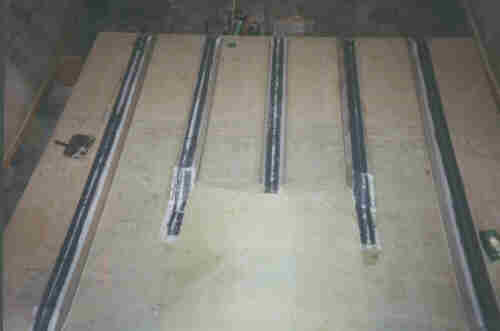 |
Once the "stealth fighter" base has all its laminates, the underwing stringers (stiffeners) are placed. Additional carbon fiber is applied and the rest of the laminates added. Most of the fairing is done before righting. |
| The latest technology on bottom coatings is applied. This copper mixed in epoxy matrix and squeegee applied and rolled flat. This anti-fouling system has a 10 year life before hauling out is required. | 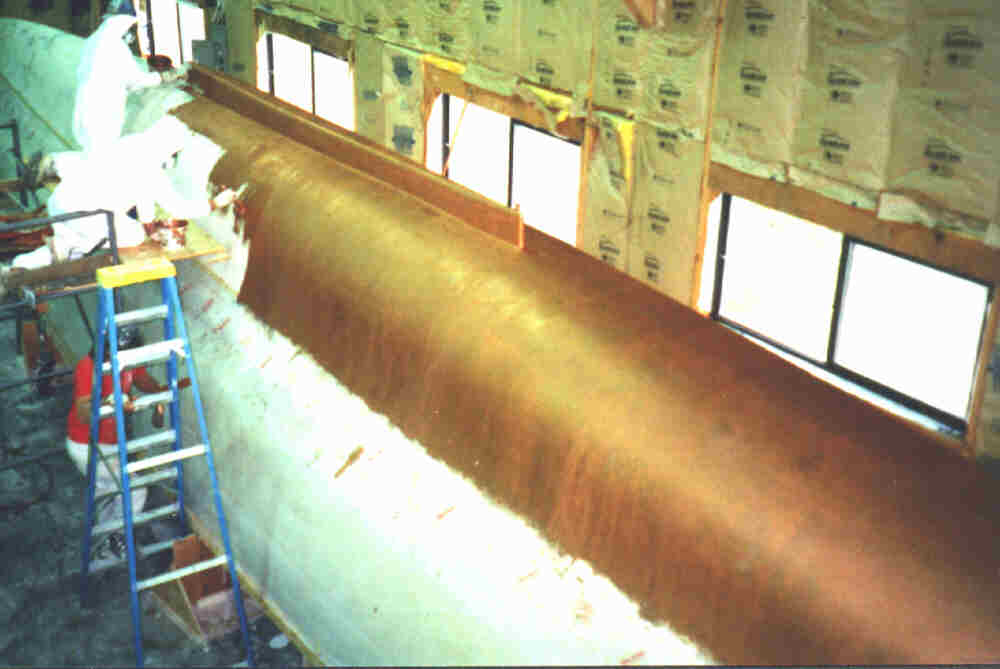 |
 |
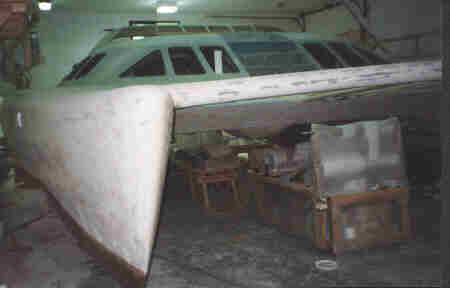
Righting of the hulls and bridgedeck. |
| Aligning the hulls and bridgedeck for attachment. | 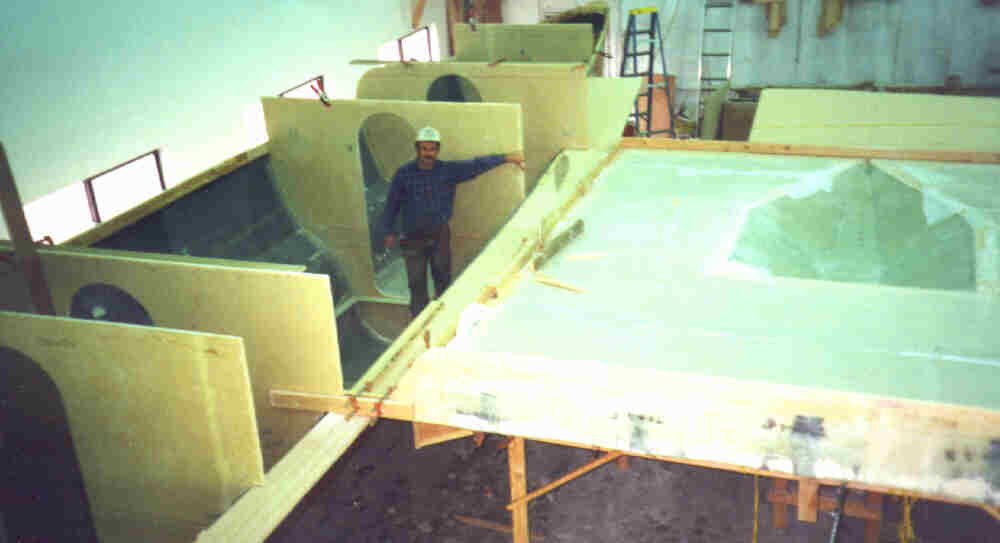 |
 |
The deck ribs are installed, battened and PVC foam installed. The designer has a laminate schedule for this core. |
| The 'stealth fighter" base, which is now right side up, must be finished. A lot of the laminates are the same on this side. A solid wood base and extra carbon fiber are added. | 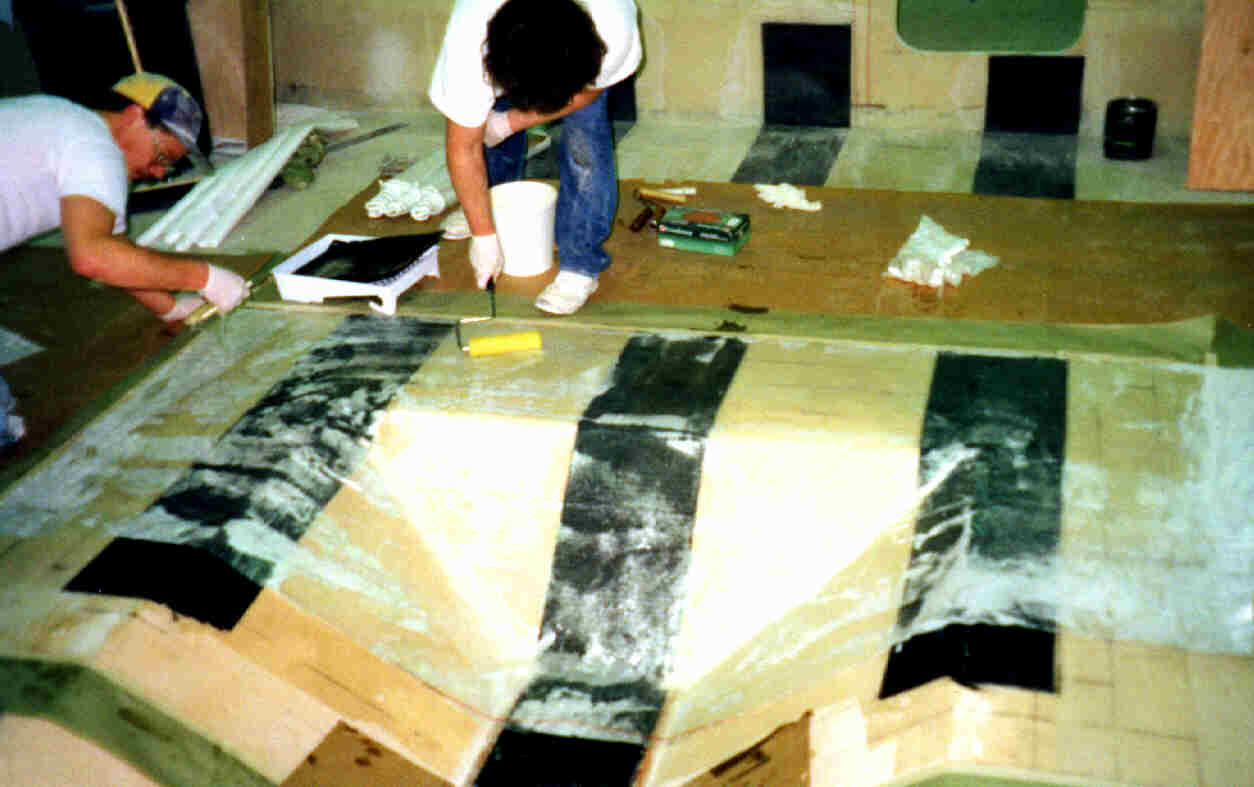 |
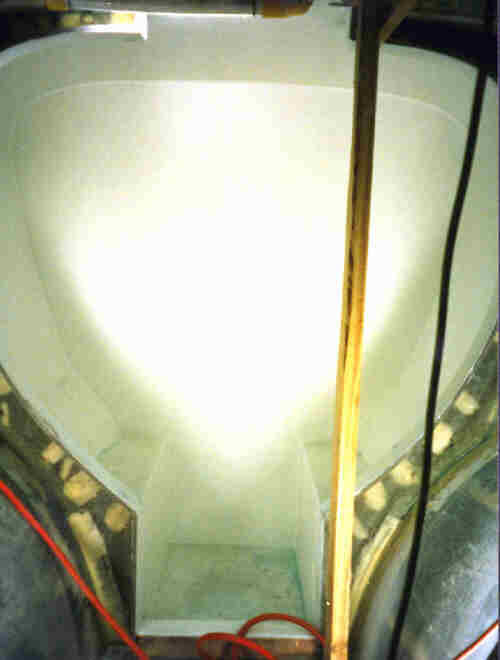 |
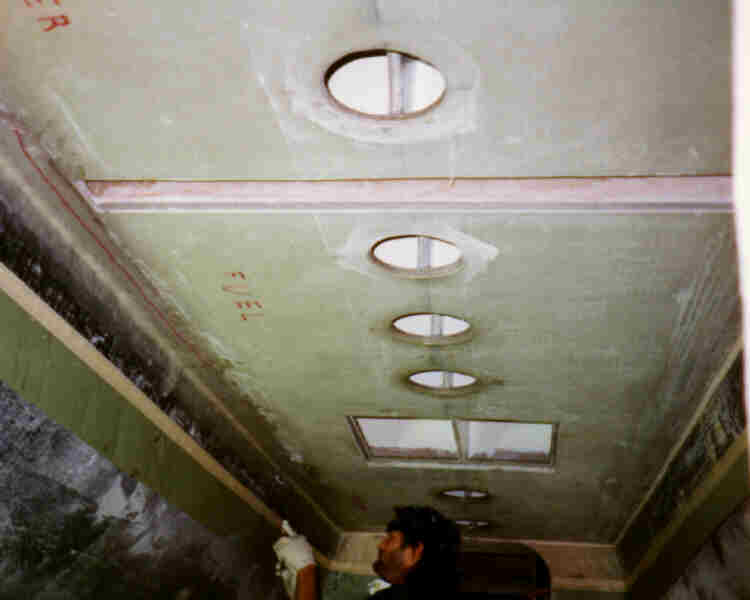
The very large shower is built into the bow of each hull. |
| The shower doors will be clear acrylic and will be etched with whales, dolphins, and other sea life. | 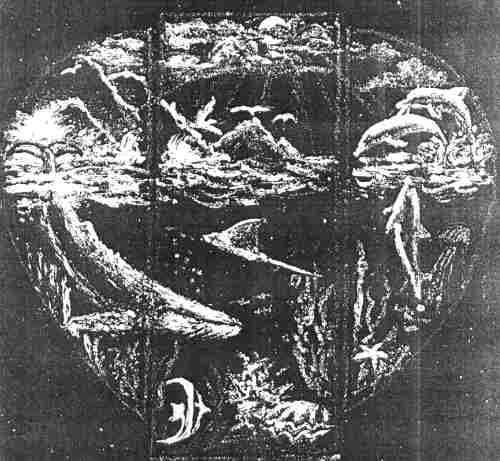 |
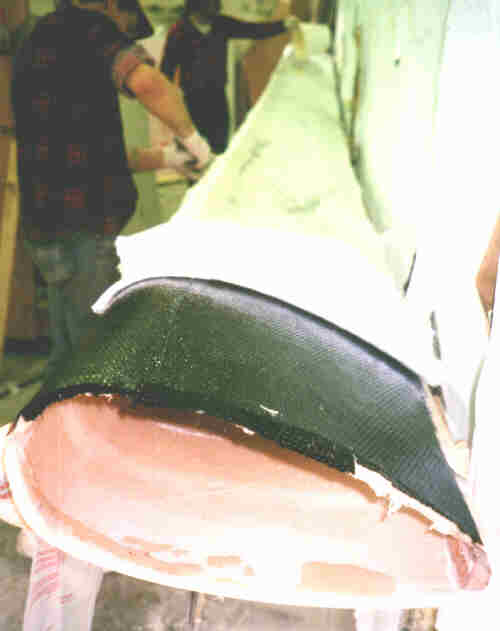 |
The bow cross tube is built similar to the hull using Airex® foam core, carbon fiber, E-glass with epoxy resin. It has a slight crown to it and will be installed with a few degrees of upward angle. |
| On-going fairing being done on areas where laminates are complete. | 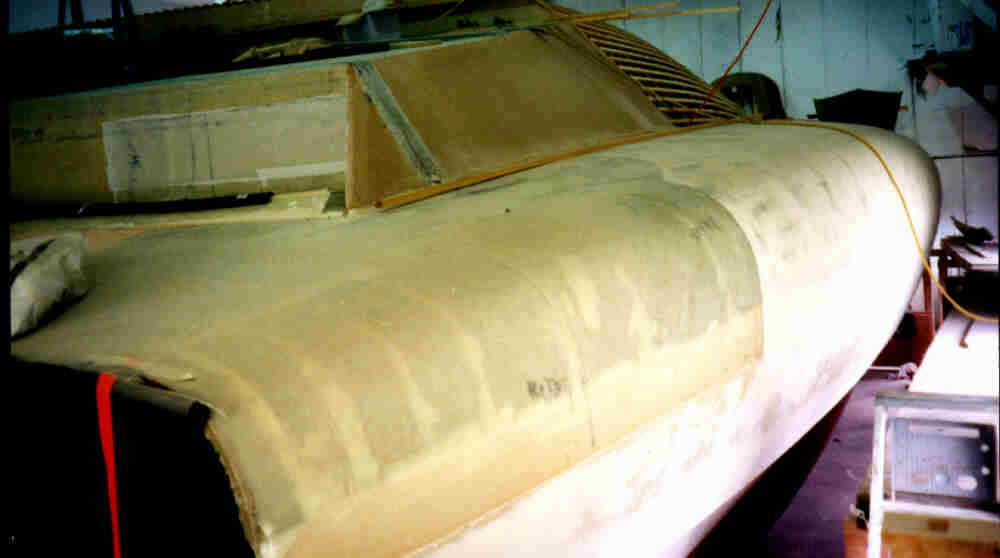 |
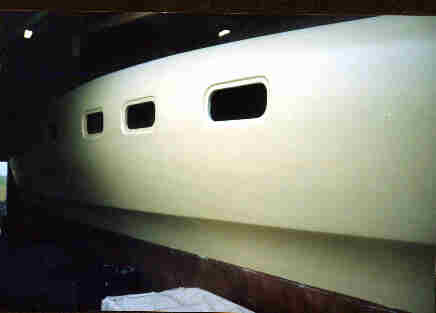 |
Hull fairing nearing completion, the first coats of epoxy have been applied. |
| Adding another port light in each shower. | 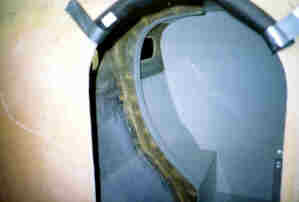 |
 |
"Taking Shape" fairing finished and now being readied for the first coats of high build epoxy primer. |
| Ram Air Scoop for engine room ventilation | 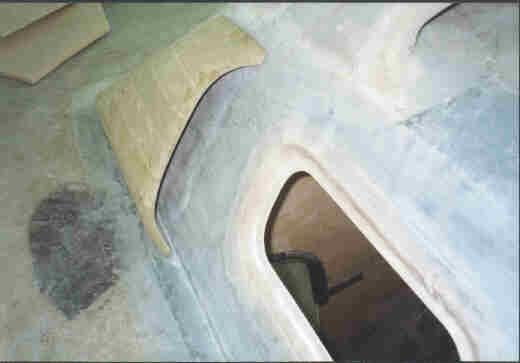 |
For More Information, email us at Info@PedigreeCats.Com
Pedigree Cats, Inc.
1835 Ocean Avenue ![]() Phone
(360) 942-2810
Phone
(360) 942-2810
Raymond, WA 98577
| Fax (360)
942-2936